Table of Contents
In this lesson you’ve seen how the Actor-Mixer and Master-Mixer Hierarchies are bridged together by using Output Bus assignments. The Voice Profiler provides a way to visualize how these two Hierarchies interact, but there's also another layout called Schematic, that provides a way to see your project's overall structure in a similar way.
-
In the Wwise menu bar, choose Layouts > Schematic or press F9.
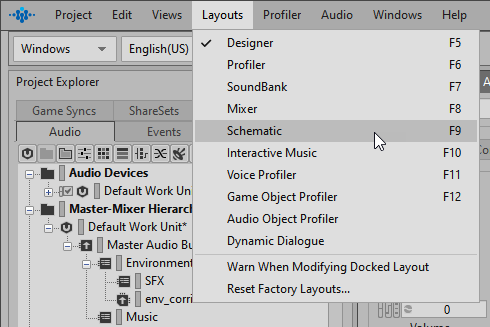
By default, the Schematic View shows the highest level within the Wwise signal flow structure, the Master Audio Bus.
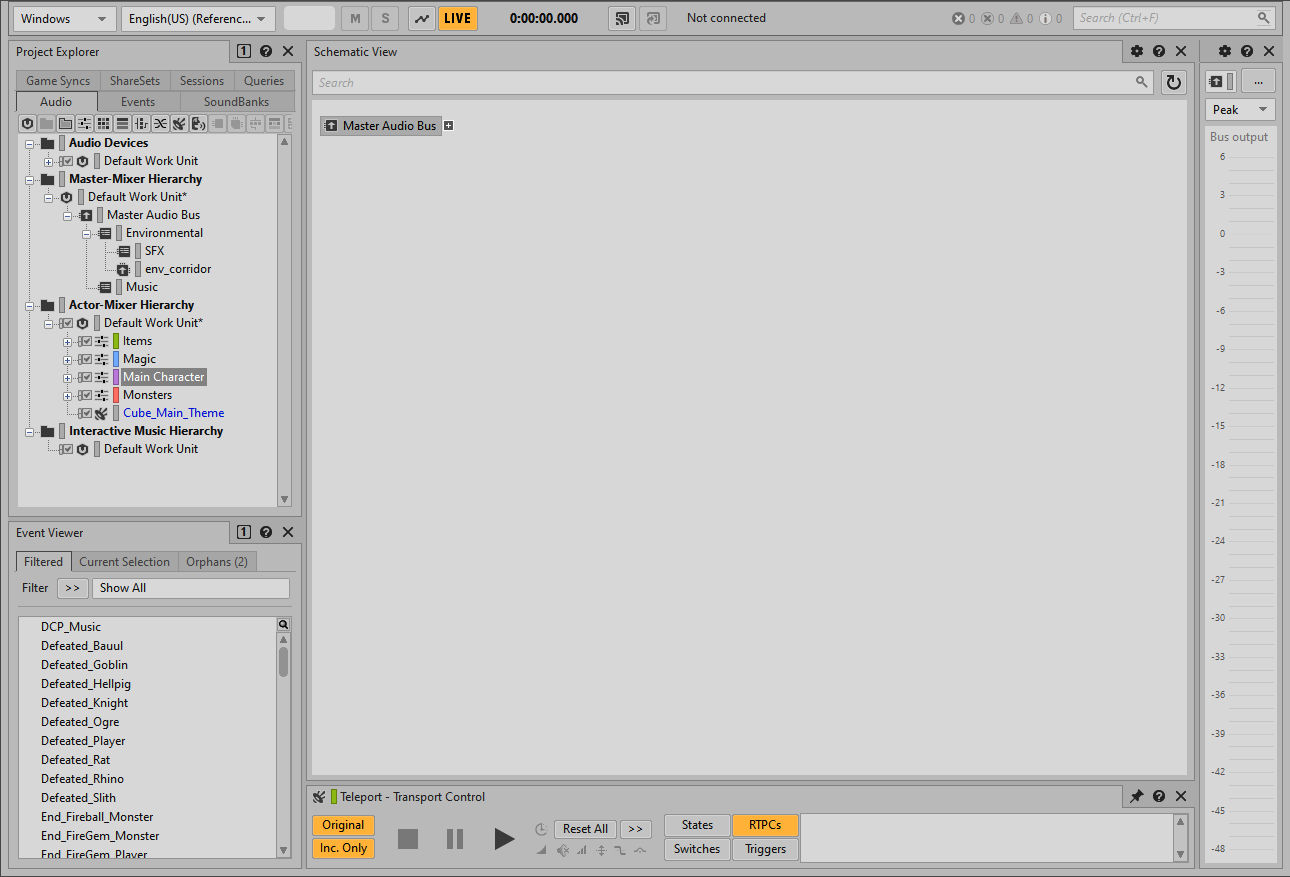
By expanding the bus hierarchies, you can trace any sound back to its sound source.
-
Expand the Master Audio Bus.

-
Expand the Music, Environmental, and SFX busses.

Solid lines represent the structure of how objects relate to each other as seen in the Project Explorer. Small dashed lines represent audio routing relationships between objects. You can clearly see how the Cube_Main_Theme Sound SFX object is routed to the Music bus, a relationship that’s not so easy to see in the Project Explorer. Large dashed lines, like the one coming from the Heartbeat, indicate where an object has an output that overrides its parent’s output. If you remember, you assigned the Heartbeat directly to the Master Audio Bus, even though it exists within the Main Character Actor-Mixer.
-
Expand the Main Character Actor-Mixer, and then expand the Defeated Random Container, and finally the Defeated1 Sound SFX object.

Now you can see the SFX\Defeated1 audio source file, and as you read from right to left, you can trace its path all the way to the Master Audio Bus.
You can quickly audition Sound SFX objects by simply selecting and playing them.
-
Select and play the Defeated1 Sound SFX object.

As you listen to the sound, you’ll find that making changes to common object properties without leaving the context of this powerful view can be very helpful. So, we’ll add specific Properties beneath each object.
-
Click View Settings in the upper-right corner of the Schematic View.

-
Select the Mute/Solo, Bus Volume, Voice Volume, Voice Pitch and Voice LPF check boxes, and click OK.

The properties that you selected are added below each of the objects.

Now you can quickly make adjustments to these common settings within the Schematic View.
-
Make any changes you’d like to the displayed properties.
-
Generate the SoundBank and play the game.
Be sure to listen for the changes you made, and find the areas in map where you can hear the reverb you created come in and out. An environment that will trigger the reverb is found in the short corridor to the right, just as the game begins.

As you enter the corridor, the lower-right corner displays env 194525. This is the ID number of the environment that sends a signal to Wwise to turn up or down the game-defined auxiliary send you configured earlier in this lesson.

![[Tip]](/images/wwise101/?source=wwise101&id=tip.png)
The sound of the reverb in the hallway is subtle, as it should be. Jump up or down in the hallway and you can more easily hear the reverb on the grunt sounds your character makes. If you still have a hard time hearing the Effect, go back to the Wwise project and turn down the music so the reverb is more easily heard.
Now you've seen some important concepts about how audio moves through Wwise. If you come from traditional audio production environments, using audio mixing consoles or DAWs, you can see there are some similarities and some important differences. Mastering signal flow within Wwise is critical, so take time to go back through this lesson and experiment with changing routings, structure, and volume settings until you feel confident to move on towards finalizing the game's mix in the next lesson.