Table of Contents
The sound currently generated by the Arpeggio Synth object is the default Synth One sound. You’ll now adjust the synth’s properties to fine tune a sound that can be heard over the mix more easily. As you move forward and make the necessary selections to manipulate the sound of the Synth One plug-in, the Transport Control can change its focus away from the Boss-A Music Segment. You’ll need to continue to play the Boss-A Music Segment in order to hear how your adjustments sound in context. To ensure the Transport Control stays focused on the Boss-A Music Container, you can use the Transport Control’s Pin feature. This locks the currently focused object in place, regardless of what selections you make.
-
With the Boss-A Music Segment selected, click the Pin in the upper-right corner of the Transport Control view.

-
Select the Arpeggio Synth Sound SFX object and then in the Contents Editor, double-click the plug-in icon to open the Source Editor.

The Wwise Synth One Source Editor opens.
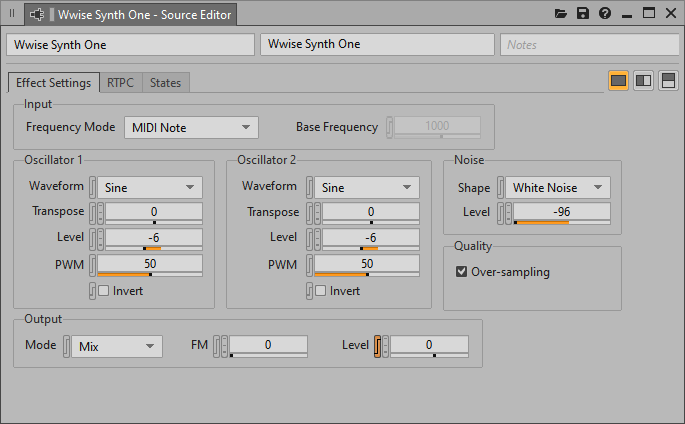
The foundation of a synthesizer’s sound is built with its oscillators, each providing a type of sound based on a type of waveform. In Synth One, you have two primary oscillators, plus a third oscillator dedicated to creating noise. The default Waveform for oscillators 1 and 2 is a Sine wave. By changing the Waveform assignment you change the core sound.
-
Change the Waveform property of Oscillator 1 to Square and Oscillator 2 to Sawtooth, then play the Boss-A Music Segment to listen to the change in tone.

Changing the Waveform type may also change the perceived volume. The synth is a bit loud, so you can adjust the volume of each oscillator. Individual control also allows you to change the balance of volume between the two oscillators, creating differing combination tones.
-
Change the Level of Oscillator 1 to -15 and Oscillator 2 to -12.

To thicken the sound a bit, you can detune each oscillator’s pitch. The values are expressed in cents. A small adjustment can go a long way in broadening the sound.
-
Transpose Oscillator 1 to -6 and set Oscillator 2 to +6 and play.

You can hear that the sound feels much wider.
Synth One even provides an FM—Frequency Modulation—feature, which allows the sound of Oscillator 2 to interact with the development of Oscillator 1’s tone, providing even more sonic options.
-
Slide the FM value to 75 and listen to the change.

One major difference in working with MIDI tracks is that there is no given volume that they will play at. The volume of the track is completely derived from the sound that the MIDI track is assigned to, making it impossible for the composer to deliver a MIDI file that can predictably blend with the other audio tracks being provided. This means that extra care has to be taken in setting the overall volume level of a source plug-in. The sound is a bit loud compared to the rest of the music, so you can adjust the volume down a little using the Level property. Adjusting the Level property does not affect the relative balance you’ve already established between the oscillators.
-
Change the Level property to -6.
