Table of Contents
Now that you have made some adjustments for both memory and processor considerations, it is time to verify that things are working as they should. You can confirm this using the Profiler to monitor live game play, just as you’ve used the Profiler in earlier lessons.
For any of the changes to work, however, you need to generate your SoundBanks.
-
In the SoundBank layout, click Generate All to create the SoundBanks with the changes you have made.
-
Launch the Cube game.
-
In Wwise, connect with Cube running on your computer and start a capture.
You created a SoundBank specifically for the DCP_the_core level, which contains sounds such as music that are unique to this level, so you’ll want to play this level for testing. This will also verify that the DCP_the_core SoundBank you created is working properly.
-
In Cube, press the Esc key.
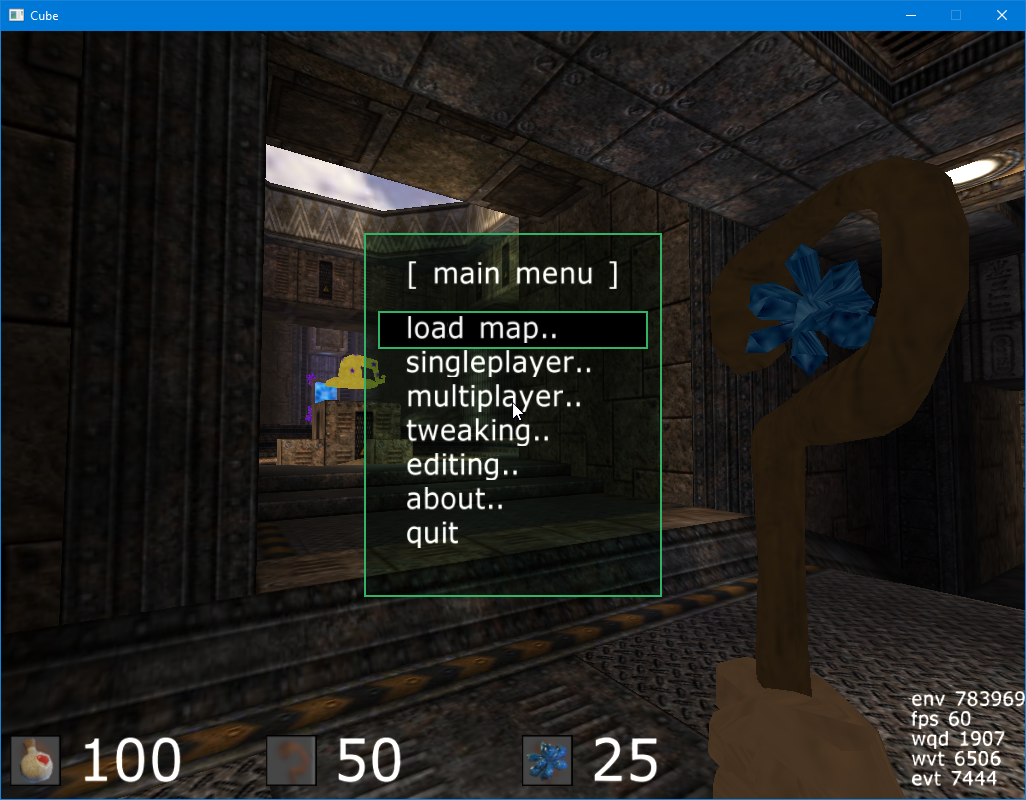
The Cube menu is displayed.
-
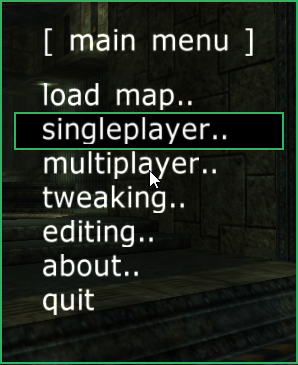
Choose singleplayer...
-
Choose start SP map...

-
Choose map dcp_the_core/enter.

The game level begins.
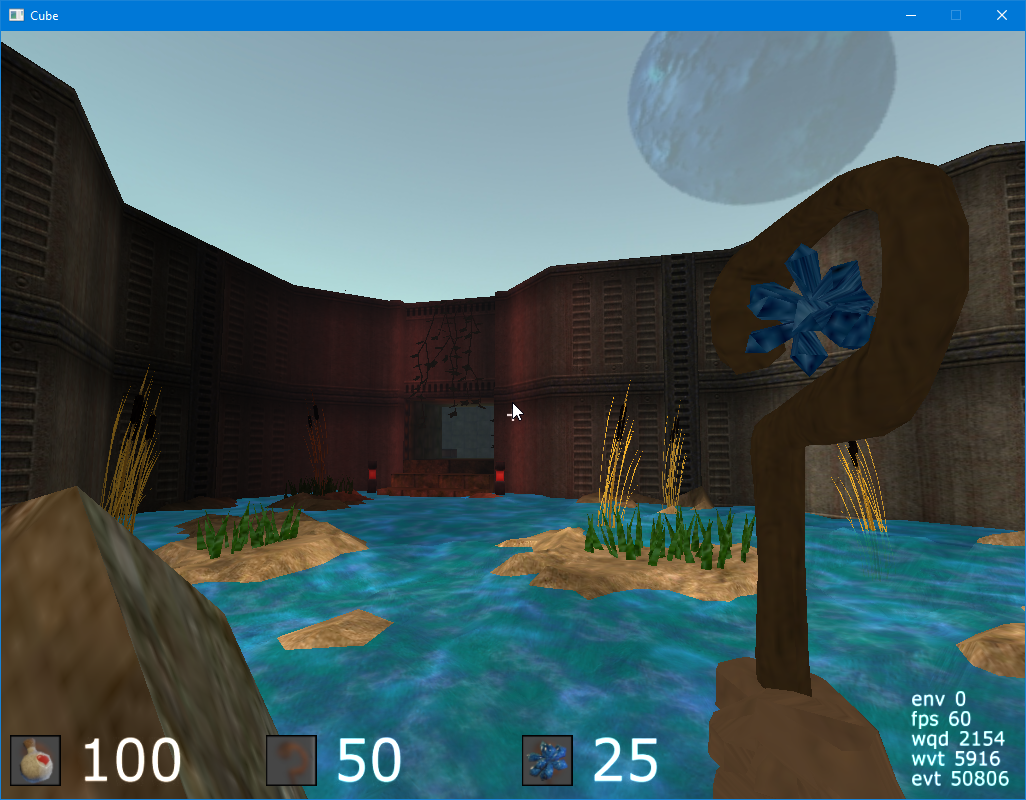
When the game starts, you immediately hear a mysterious background ambience. This is actually the Cube Main Theme object playing, so you know the DCP_the_core SoundBank you created loaded correctly.
-
In the Wwise Profiler layout, use the Remote button in the toolbar to make a connection with the game as you did in the Installing the Course Materials.
Once the connection is established, you see multiple graphs in the lower part of the screen. The top graph shows CPU usage. You see it move as the audio action gets more intense. Below that is a graph indicating the total number of streams and the amount of bandwidth being used when pulling the streams data from the stored file. This represents your Music Track playing.
![[Tip]](/images/wwise101/?source=wwise101&id=tip.png)
Move the Performance Monitor time cursor back and forth to review the history of the sound engine performance over the course of game play. You will be able to see the exact moment you started the DCP_the_core level and the music stream started.
The bottom graph shows memory usage, which is very low, and should be fairly consistent, as the bulk of your sounds are loaded into memory when the game starts.

It’s always a good idea to capture game play and review these graphs. Look for spikes that do not seem like they correlate appropriately with game play. In some cases, there may be some things happening in the background that you may not be able to discover without having these Profiler views.
The bands in the Performance Monitor can be customized so that you can quickly view the parameters you are interested in. Right-click over any of the bands and choose Performance Monitor settings to view a list of items such as Number of Voices and Total Plug-in CPU usage that can be added to the display.
Congratulations! At this conclusion of the Wwise-101 course, you've been able to not only see the various considerations for how audio is integrated into video games, but you've exercised these principles yourself by actually building sound into the Cube game! With your new found knowledge, reflect back on the previous lessons and take an opportunity to experiment with some of your creative ideas that could make Cube sound even better! While there is certainly much more to learn about Wwise and game audio in general, the core ideas you've discovered here will serve as a solid foundation for you to move forward. When you're ready, take advantage of the additional Wwise Certification courses, such as Wwise-201-Interactive Music, Wwise-251-Performance Optimization and Mobile Considerations, and Wwise-301-Wwise Unity Integration.