Table of Contents
Synth One is not directly configured within a Music Track. Because it’s a source plug-in, it must be configured within a Sound SFX object that is then targeted by the Music Track. Think of it like hooking a MIDI cable from the physical output of a sequencer to the physical input of a hardware synthesizer.
-
Change to the Designer layout.

Sound SFX objects, which can house a Synth One synthesizer, only exist in the Actor-Mixer Hierarchy. As you’ve done before, you’ll first create a Music Work Unit for the objects that specifically deal with the Music system in Cube.
-
In the Project Explorer, right-click the Actor-Mixer Hierarchy, and choose New Child > Work Unit.

-
Name the new Work Unit Music.

-
Right-click the Music Work Unit, and choose New Child > Sound SFX.

![[Tip]](/images/wwise201/?source=wwise201&id=tip.png)
You may have noticed that when creating the new child object, you can directly choose Wwise Synth One. This is a time-saving shortcut that can save a few of the following steps, but to better understand how Synth One is implemented in Wwise, continue on in the lesson as written.
-
Name the new object Arpeggio Synth.

It appears red because there is no associated source for this object. You’ll configure the source to be the Synth One.
-
Select the Arpeggio Synth Sound SFX object and in the Contents Editor, click the Add Source selector and choose Wwise Synth One.

Wwise Synth One appears and a couple of properties are displayed in the Contents Editor.

-
Play the Arpeggio Synth Sound SFX object.
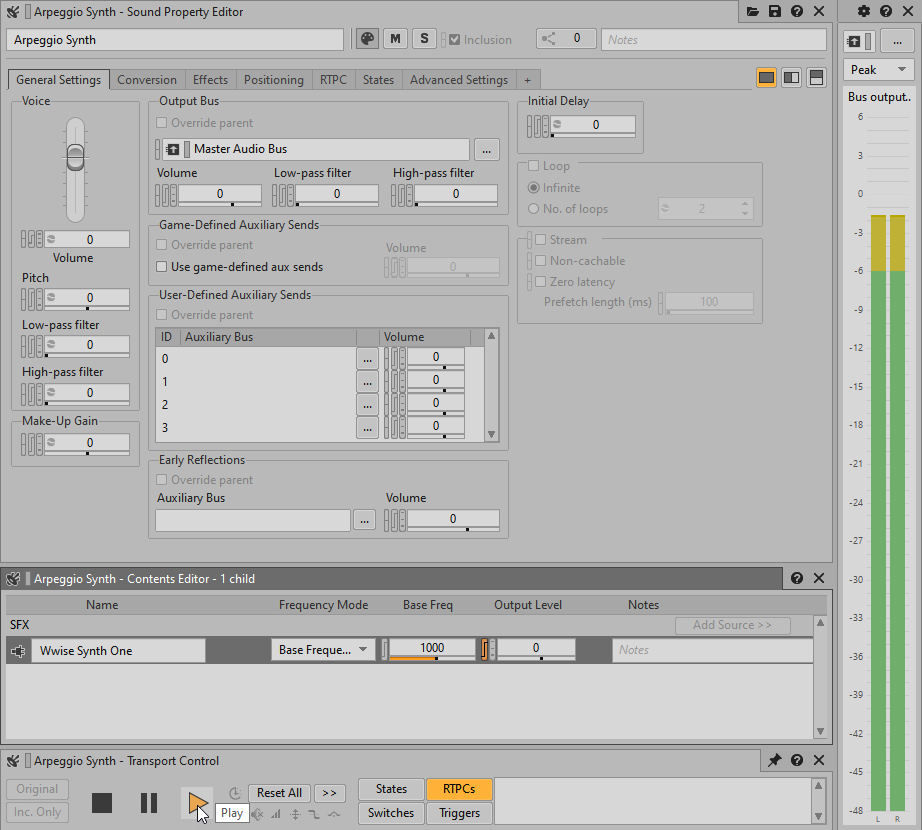
You hear a tone of 1,000 Hz play. This is because the Frequency Mode is set to Base Frequency and that frequency is set to 1,000 Hz. In this mode, the synth will only play sounds at the specified frequency. The result you need is for the pitch to be dictated by the MIDI note being played.
-
Change the Frequency Mode to MIDI Note and play again.

The pitch now plays much lower.