When localized language files are ready, they can be imported directly into the project using the Audio File Importer.
To begin the process, first change the import mode to Localize Languages and set the appropriate Destination language for localization.
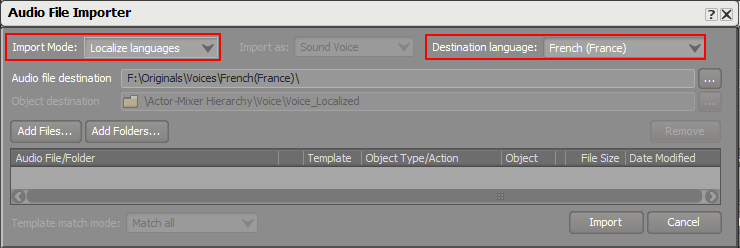
Preparing to import localized voice files using the audio file importer
You can then select files or folders to be imported in the Destination language using either the Add Files or Add Folders button.
 |
Adding localized files to already existing voice objects
Once imported, the localized files appear in the Contents Editor for the associated Sound Voice object.
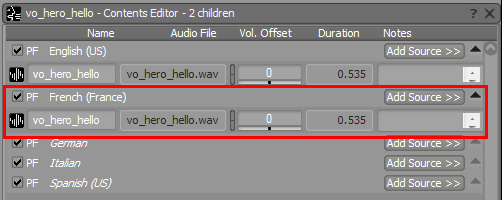
Localized dialogue added to an existing Sound Voice
Was this page helpful?
Need Support?
Questions? Problems? Need more info? Contact us, and we can help!
Visit our Support pageTell us about your project. We're here to help.
Register your project and we'll help you get started with no strings attached!
Get started with Wwise