버전
menu_open
When localized language files are ready, they can be imported directly into the project using the Audio File Importer.
To begin the process, first change the import mode to Localize Languages and set the appropriate Destination language for localization.
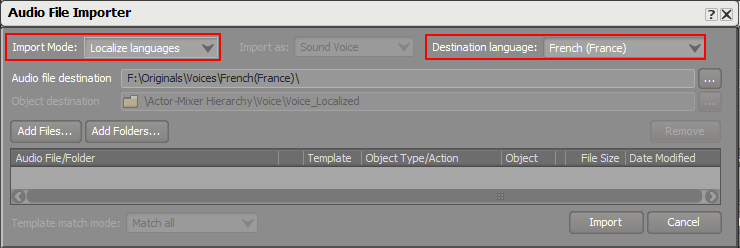
Preparing to import localized voice files using the audio file importer
You can then select files or folders to be imported in the Destination language using either the Add Files or Add Folders button.
 |
Adding localized files to already existing voice objects
Once imported, the localized files appear in the Contents Editor for the associated Sound Voice object.
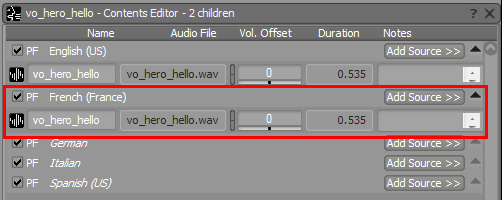
Localized dialogue added to an existing Sound Voice
이 페이지가 도움이 되었나요?
작업하는 프로젝트에 대해 알려주세요. 언제든지 도와드릴 준비가 되어 있습니다.
프로젝트를 등록하세요. 아무런 조건이나 의무 사항 없이 빠른 시작을 도와드리겠습니다.
Wwise를 시작해 보세요